Using Mothership
Your first IncludeOS instance
1. Create a configuration for your instance
Go to the NaCl page
NaCl is a configuration language for IncludeOS. On the NaCl page you can find links to the language documentation and examples.
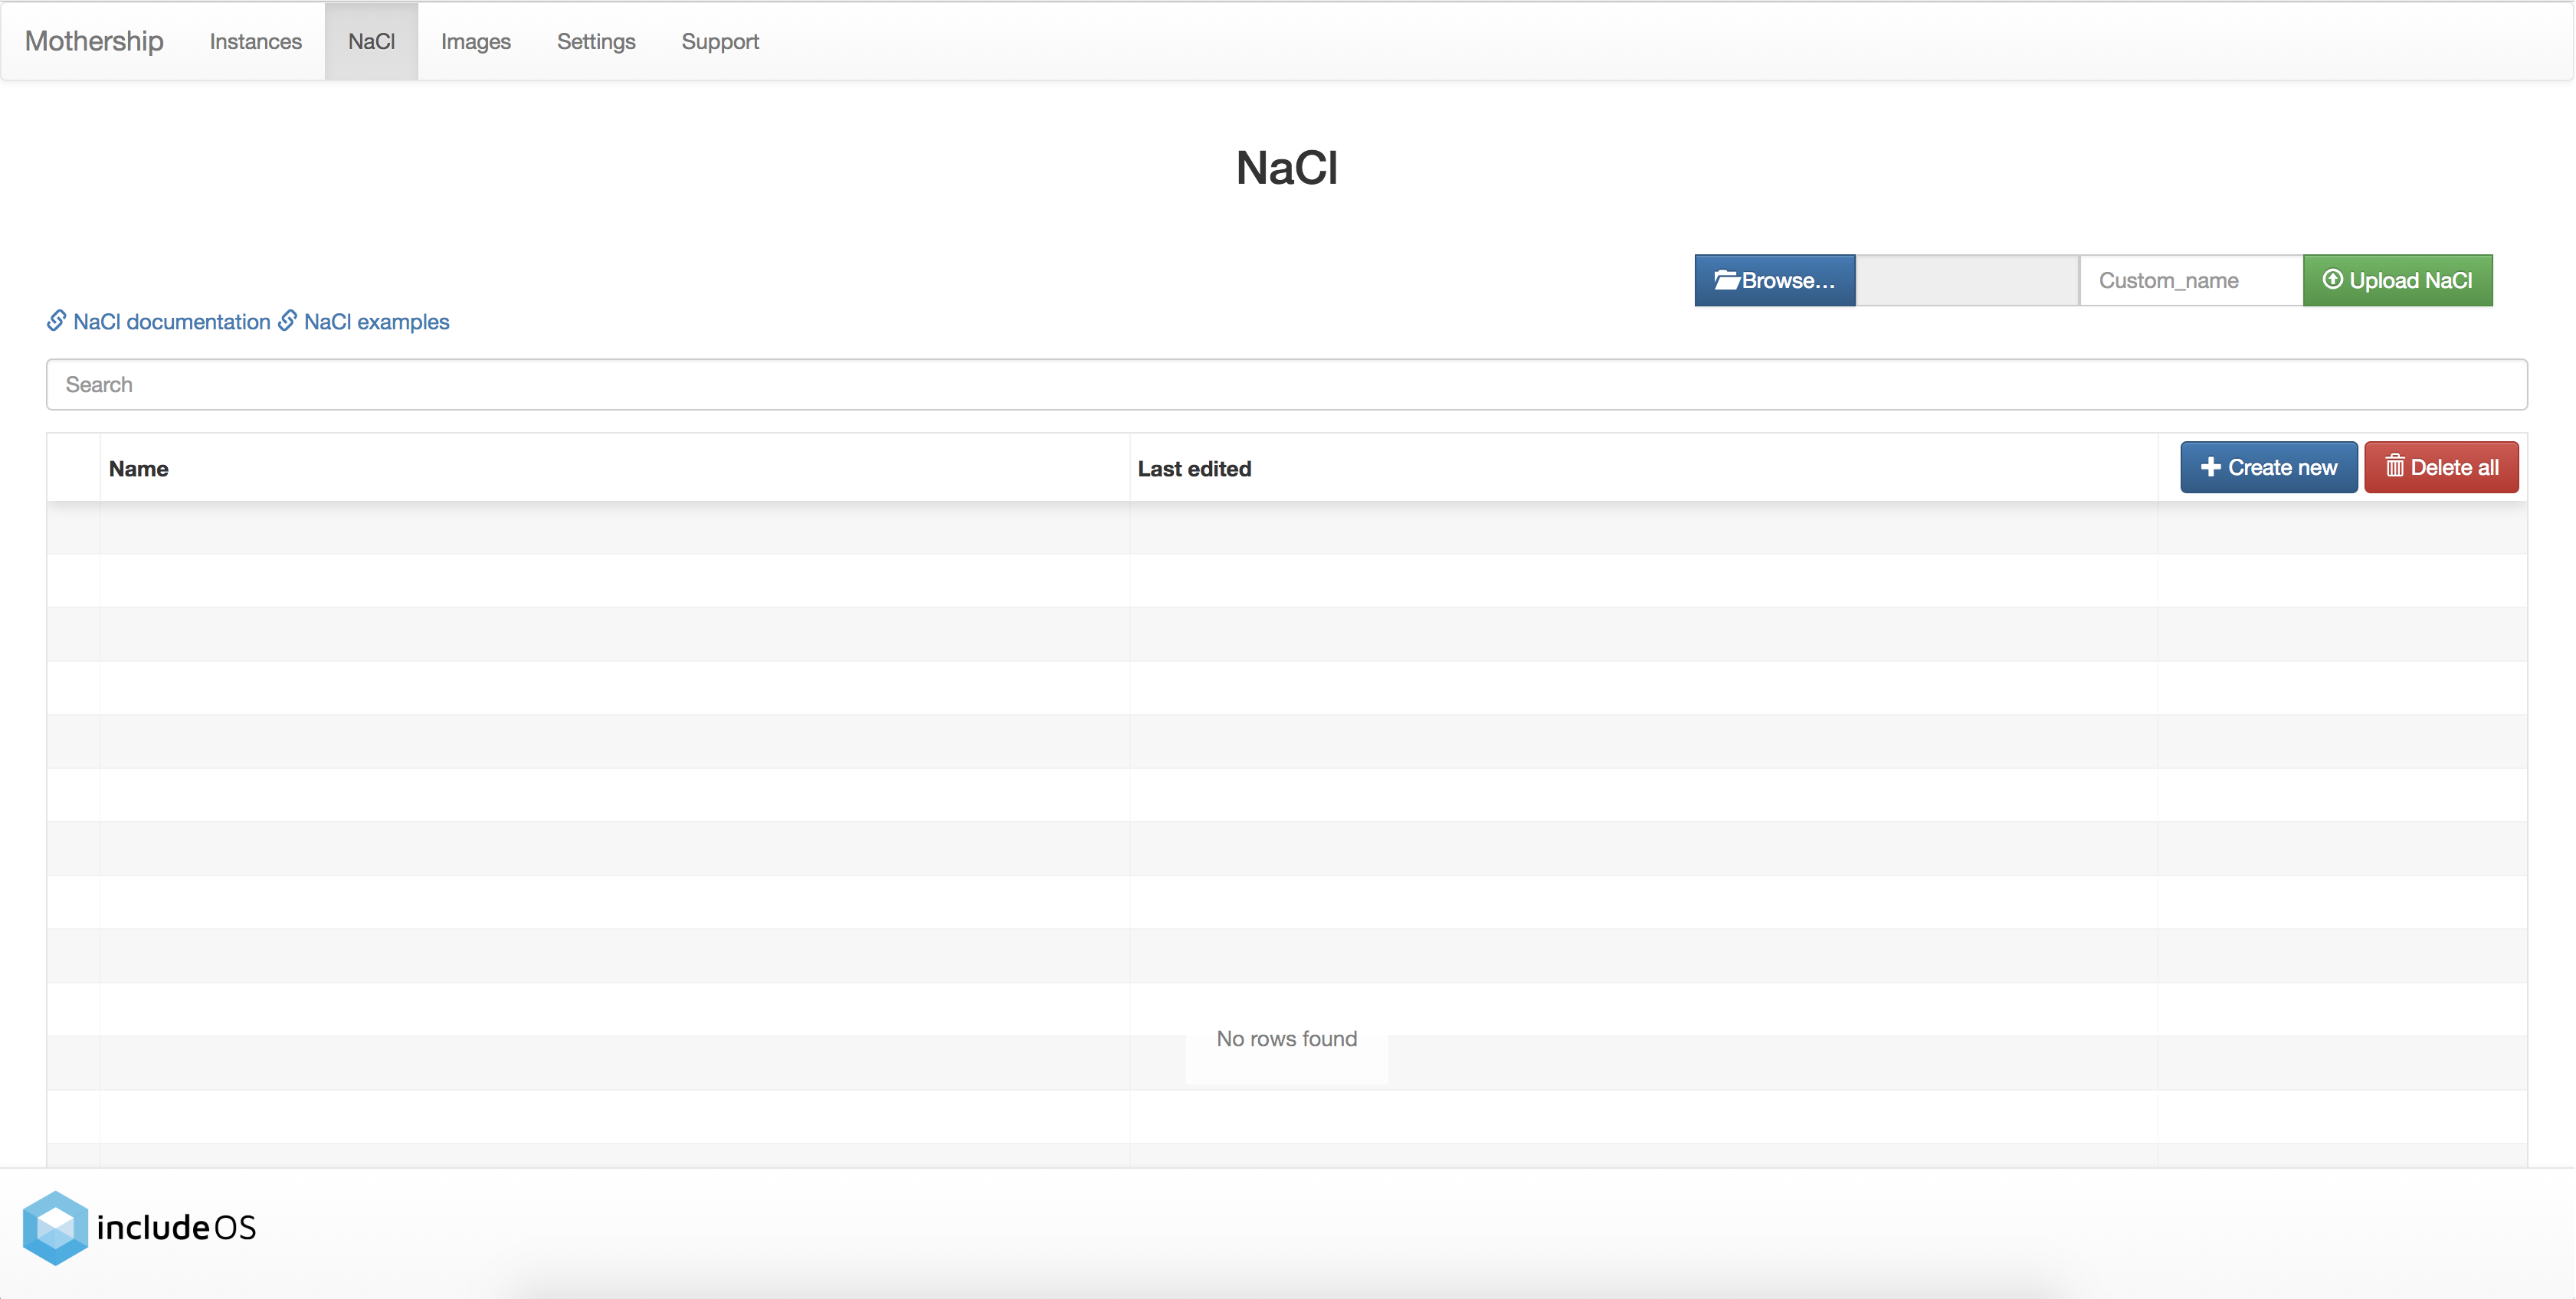
Click on the Create new-button
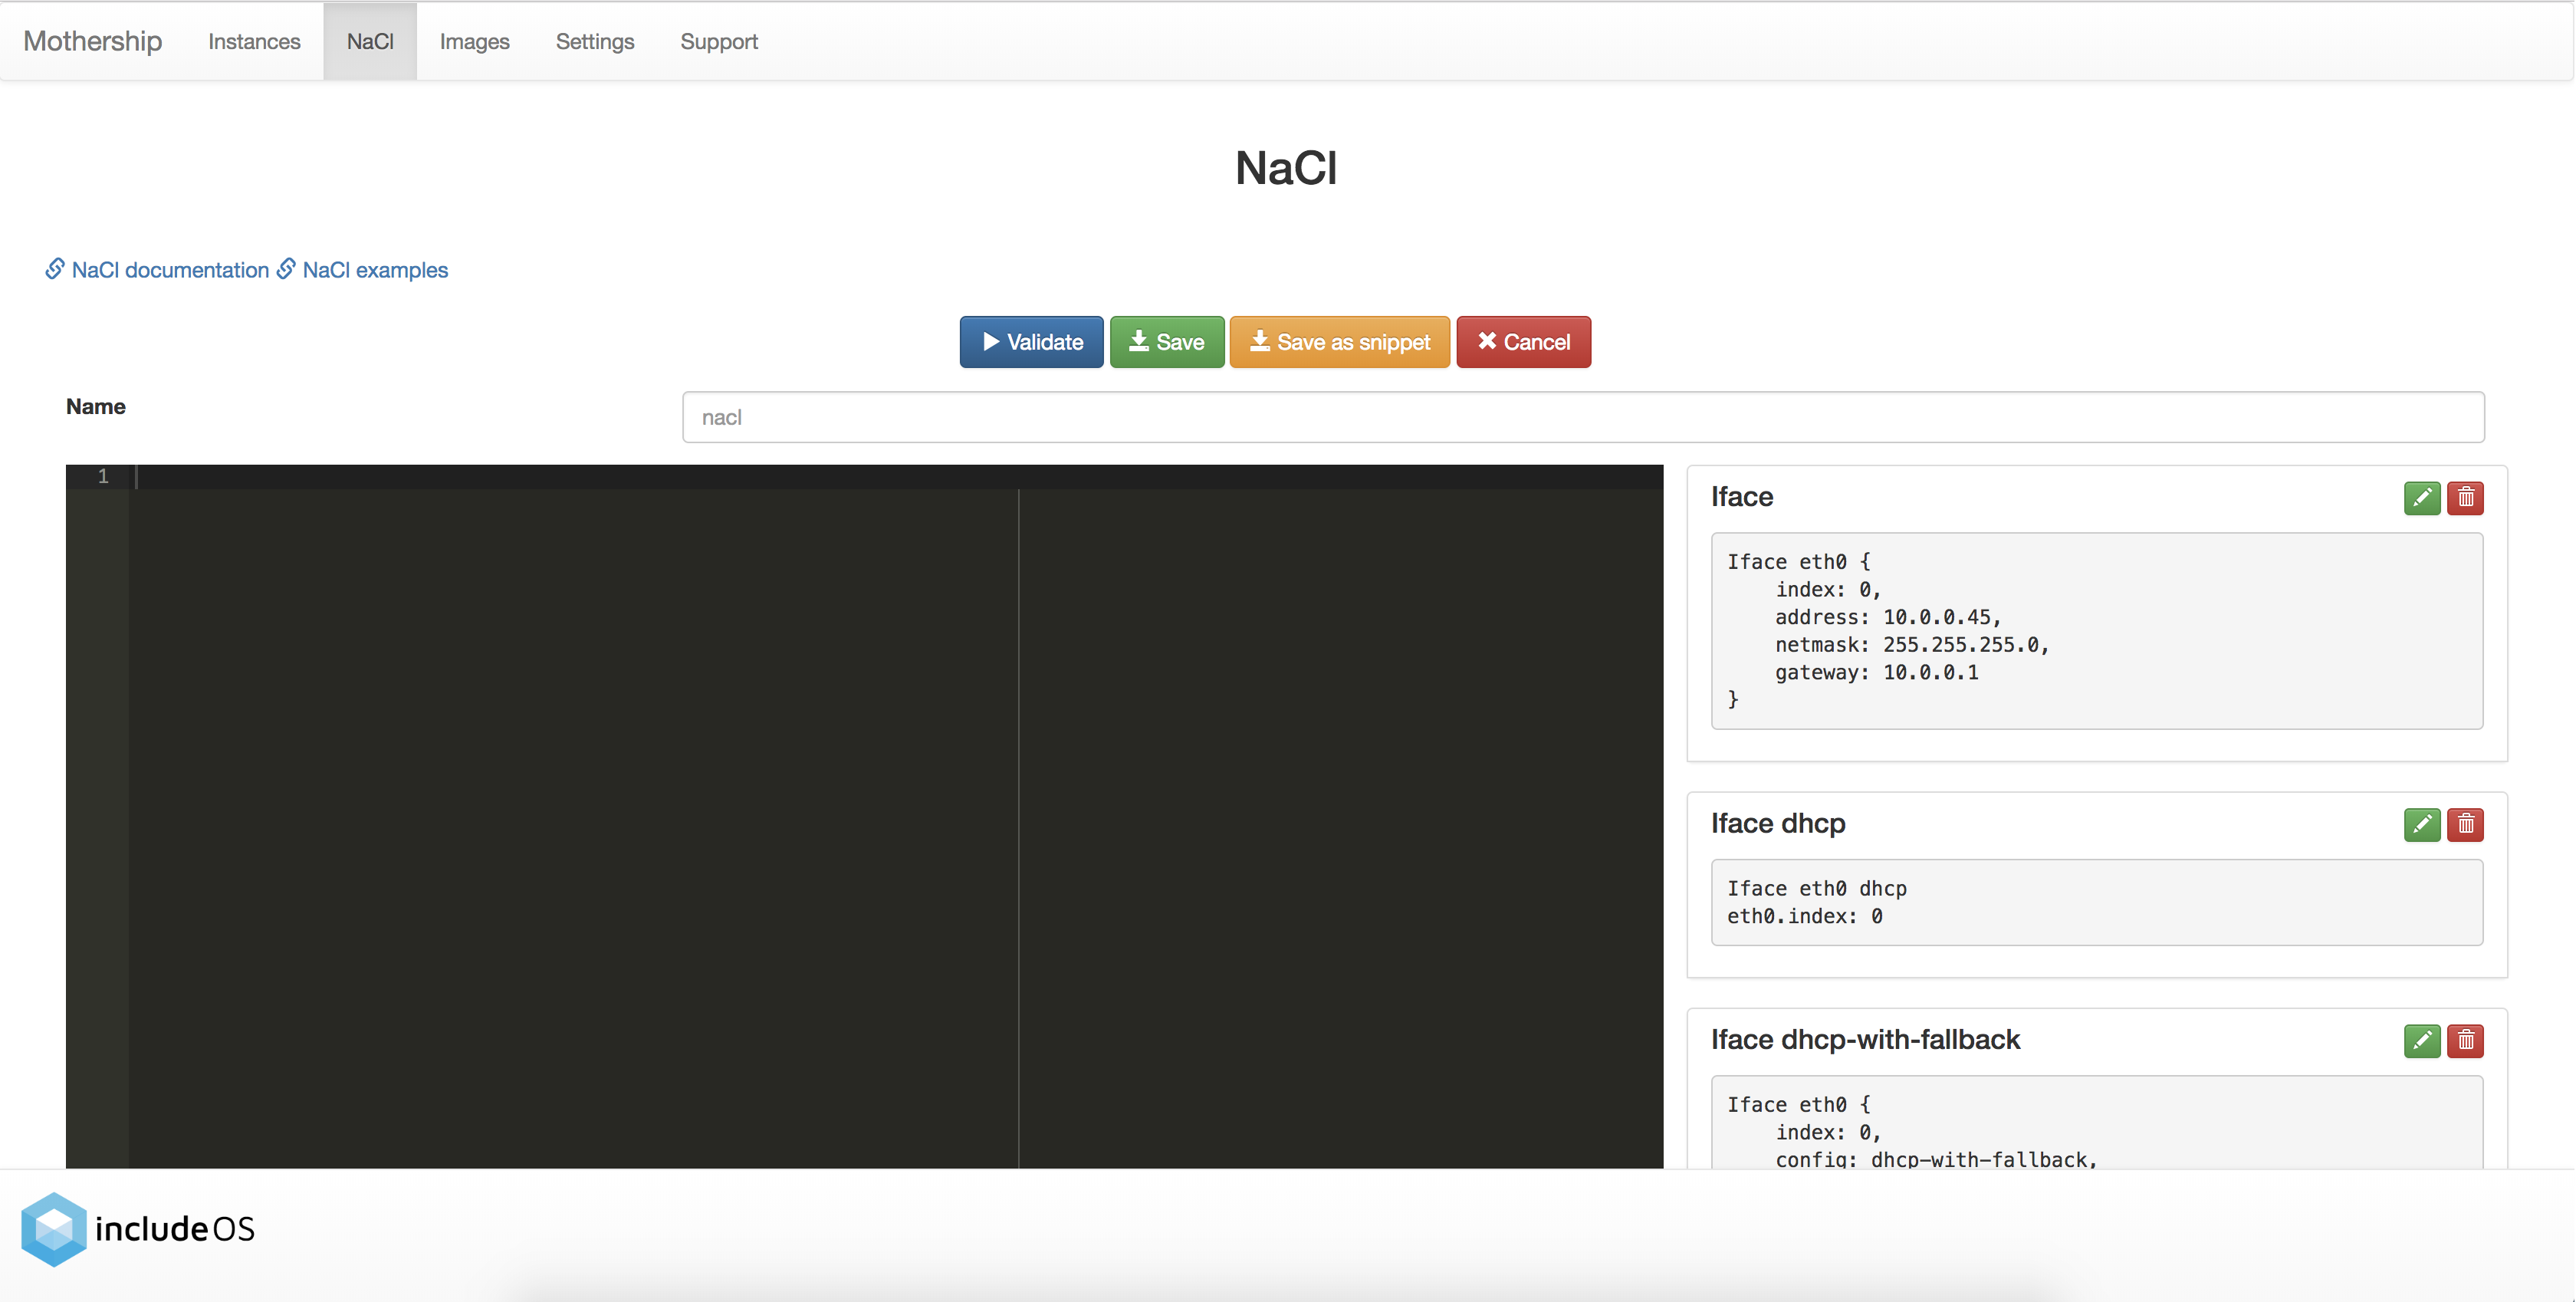
Click on the code snippet named Iface
This will paste the NaCl you need for configuring an instance with one interface. Change the Iface values to fit your need and give your NaCl file a name.

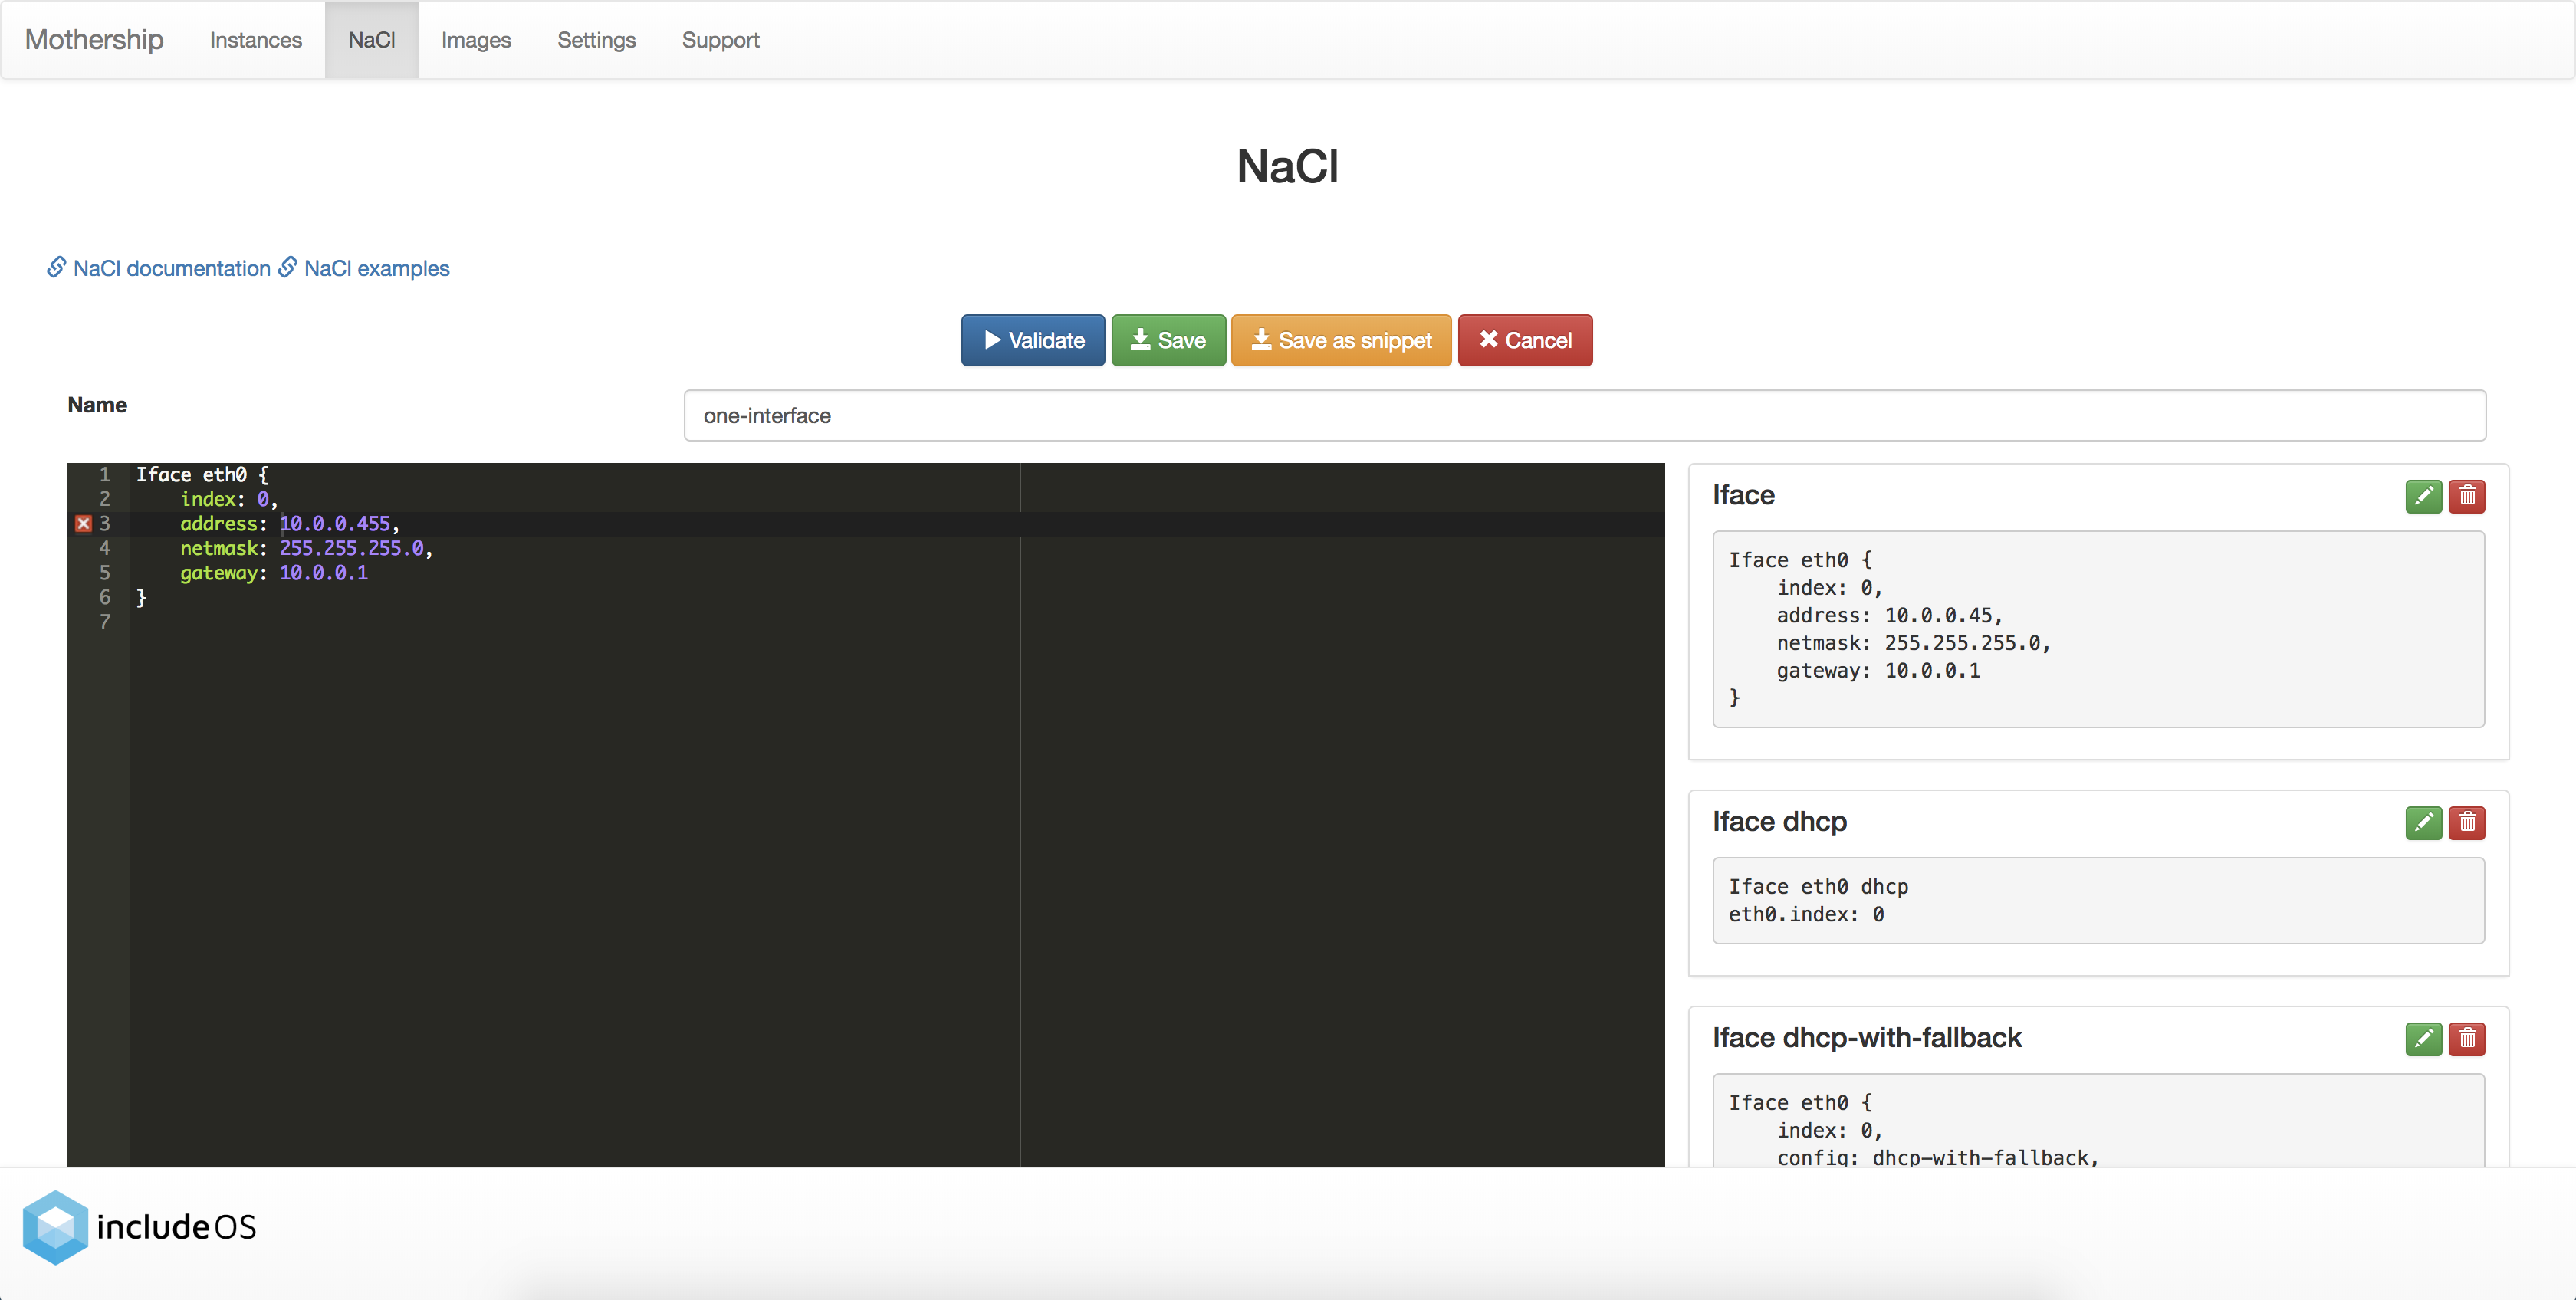
Click on the Validate-button to validate the NaCl content
If there are any errors in your NaCl configuration, an error icon will be displayed in the left margin of the line containing the error. When hovering this icon, the reason for the error will be displayed:
Click on the Save-button
The newly created NaCl file is displayed in the list if the NaCl content doesn’t contain any errors:

2. Build your image
Go to the Images page
Click on the Create new-button.
Here you will see that your newly created NaCl is displayed in the drop-down list:
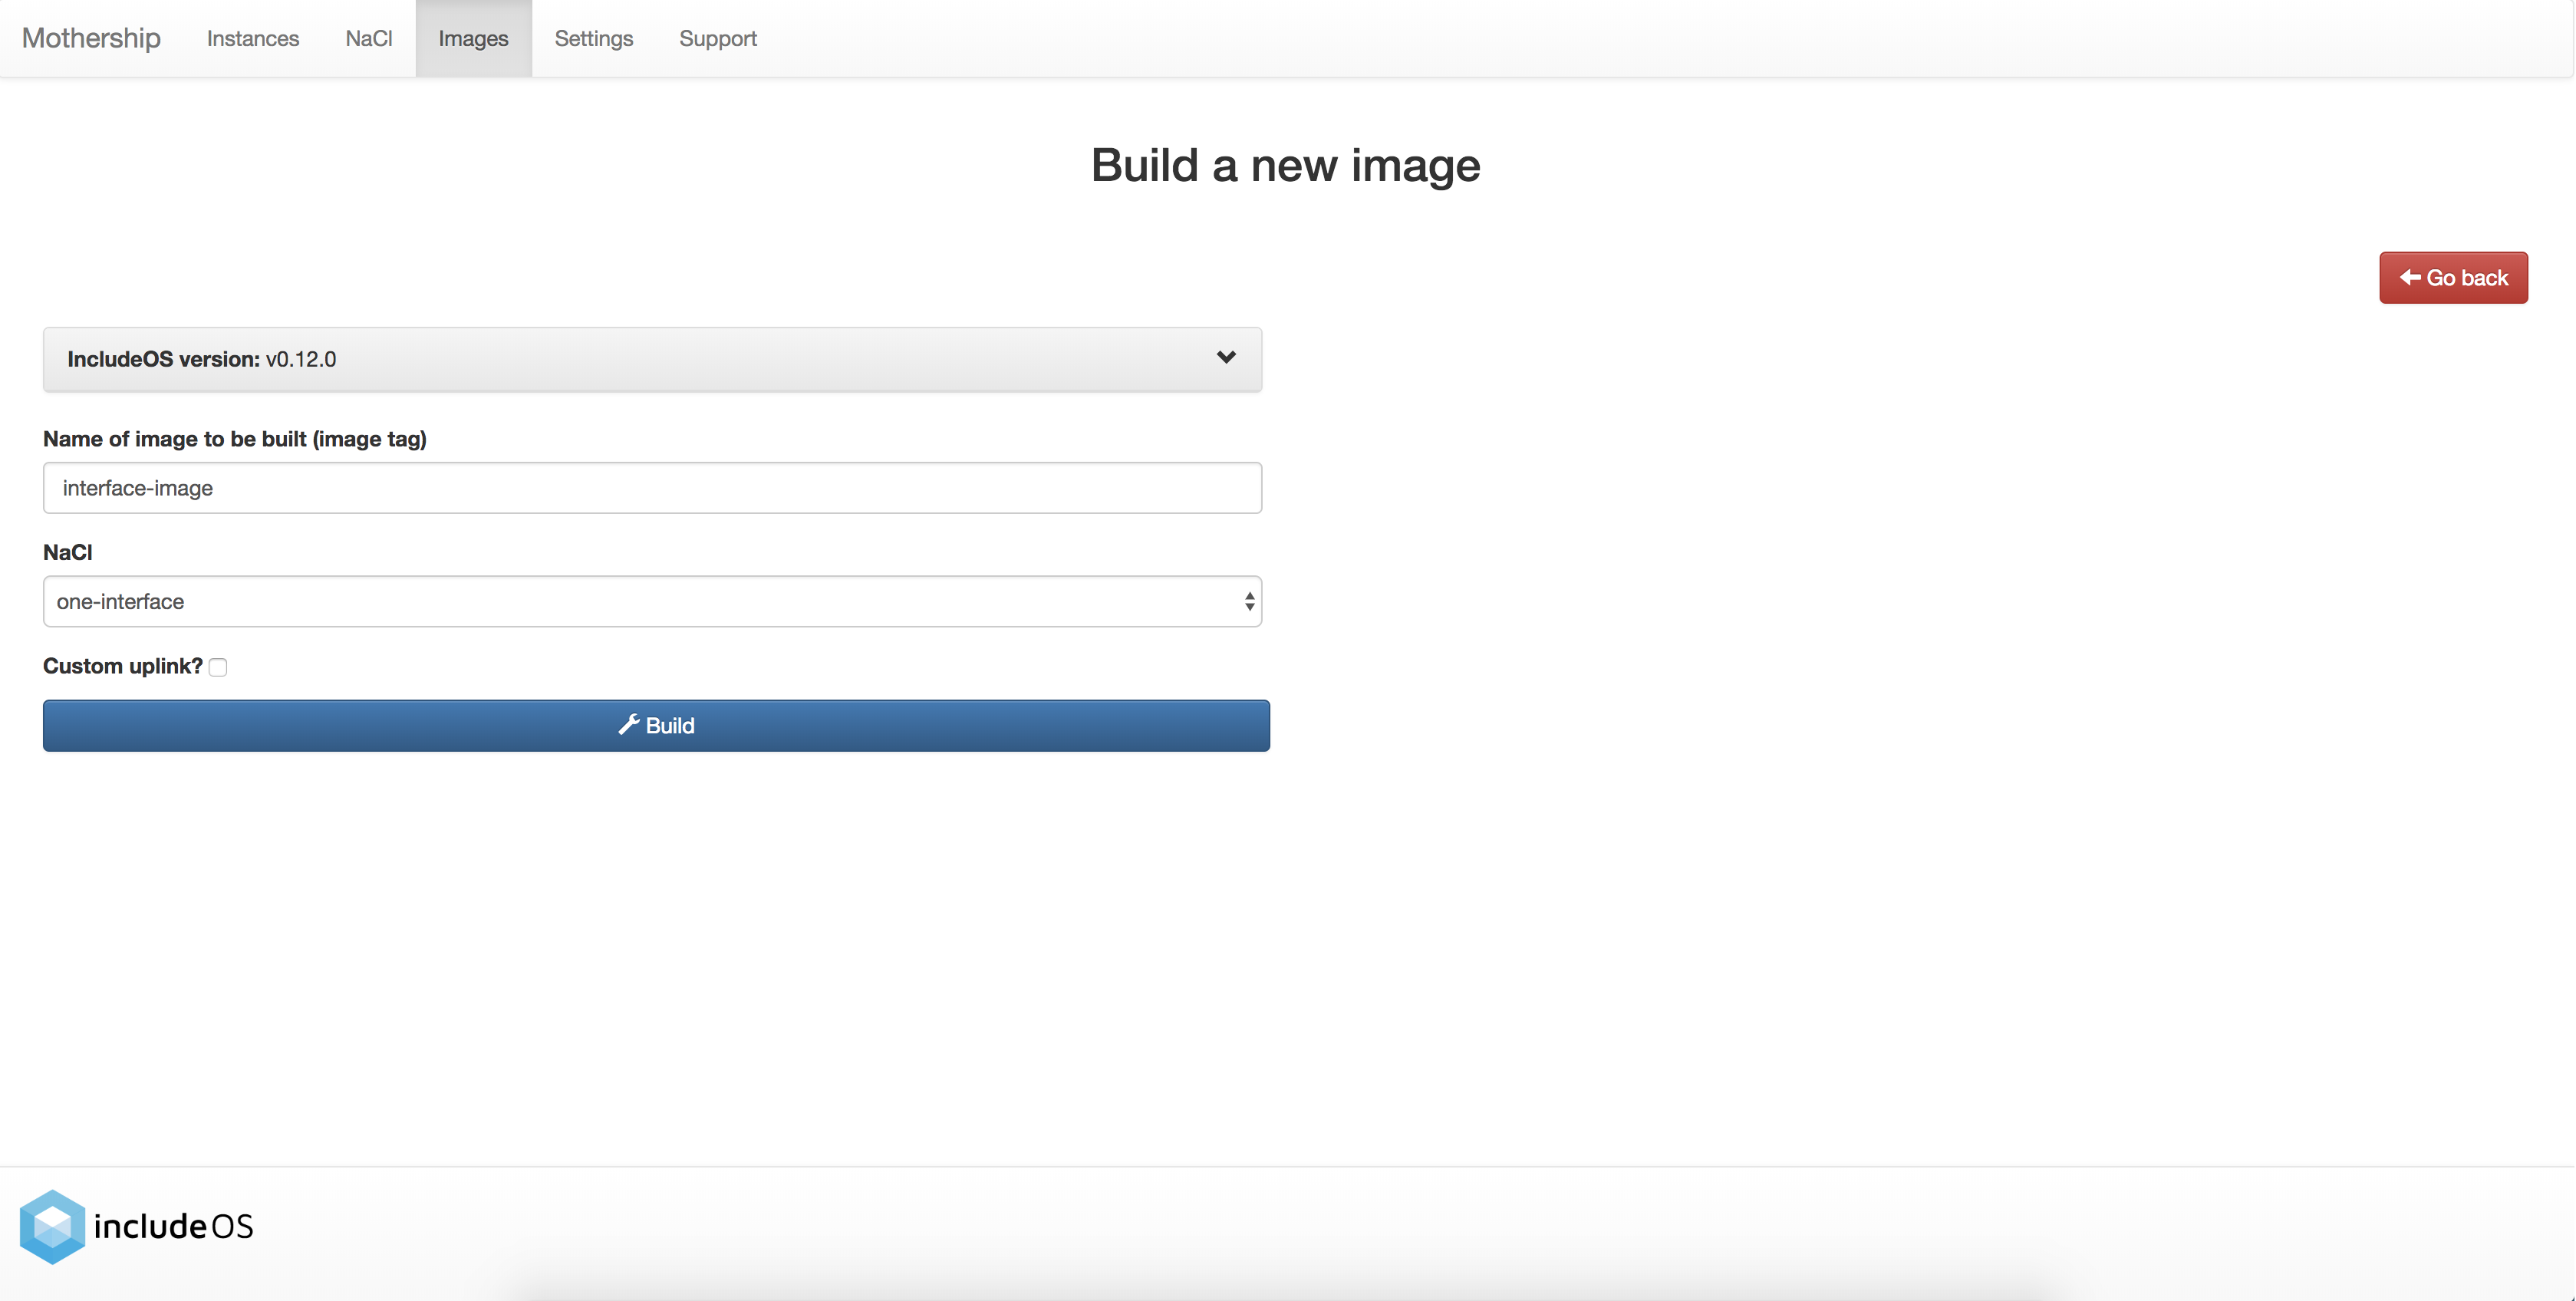
When building an image, information about the URL of the Mothership to connect to must be given. This is what we call an uplink. The default uplink that is created when starting a Mothership is set to be the IP of your Mothership and port 9090. You can view and edit the default uplink settings to your Mothership on the Settings page. Here you can also create other uplinks.
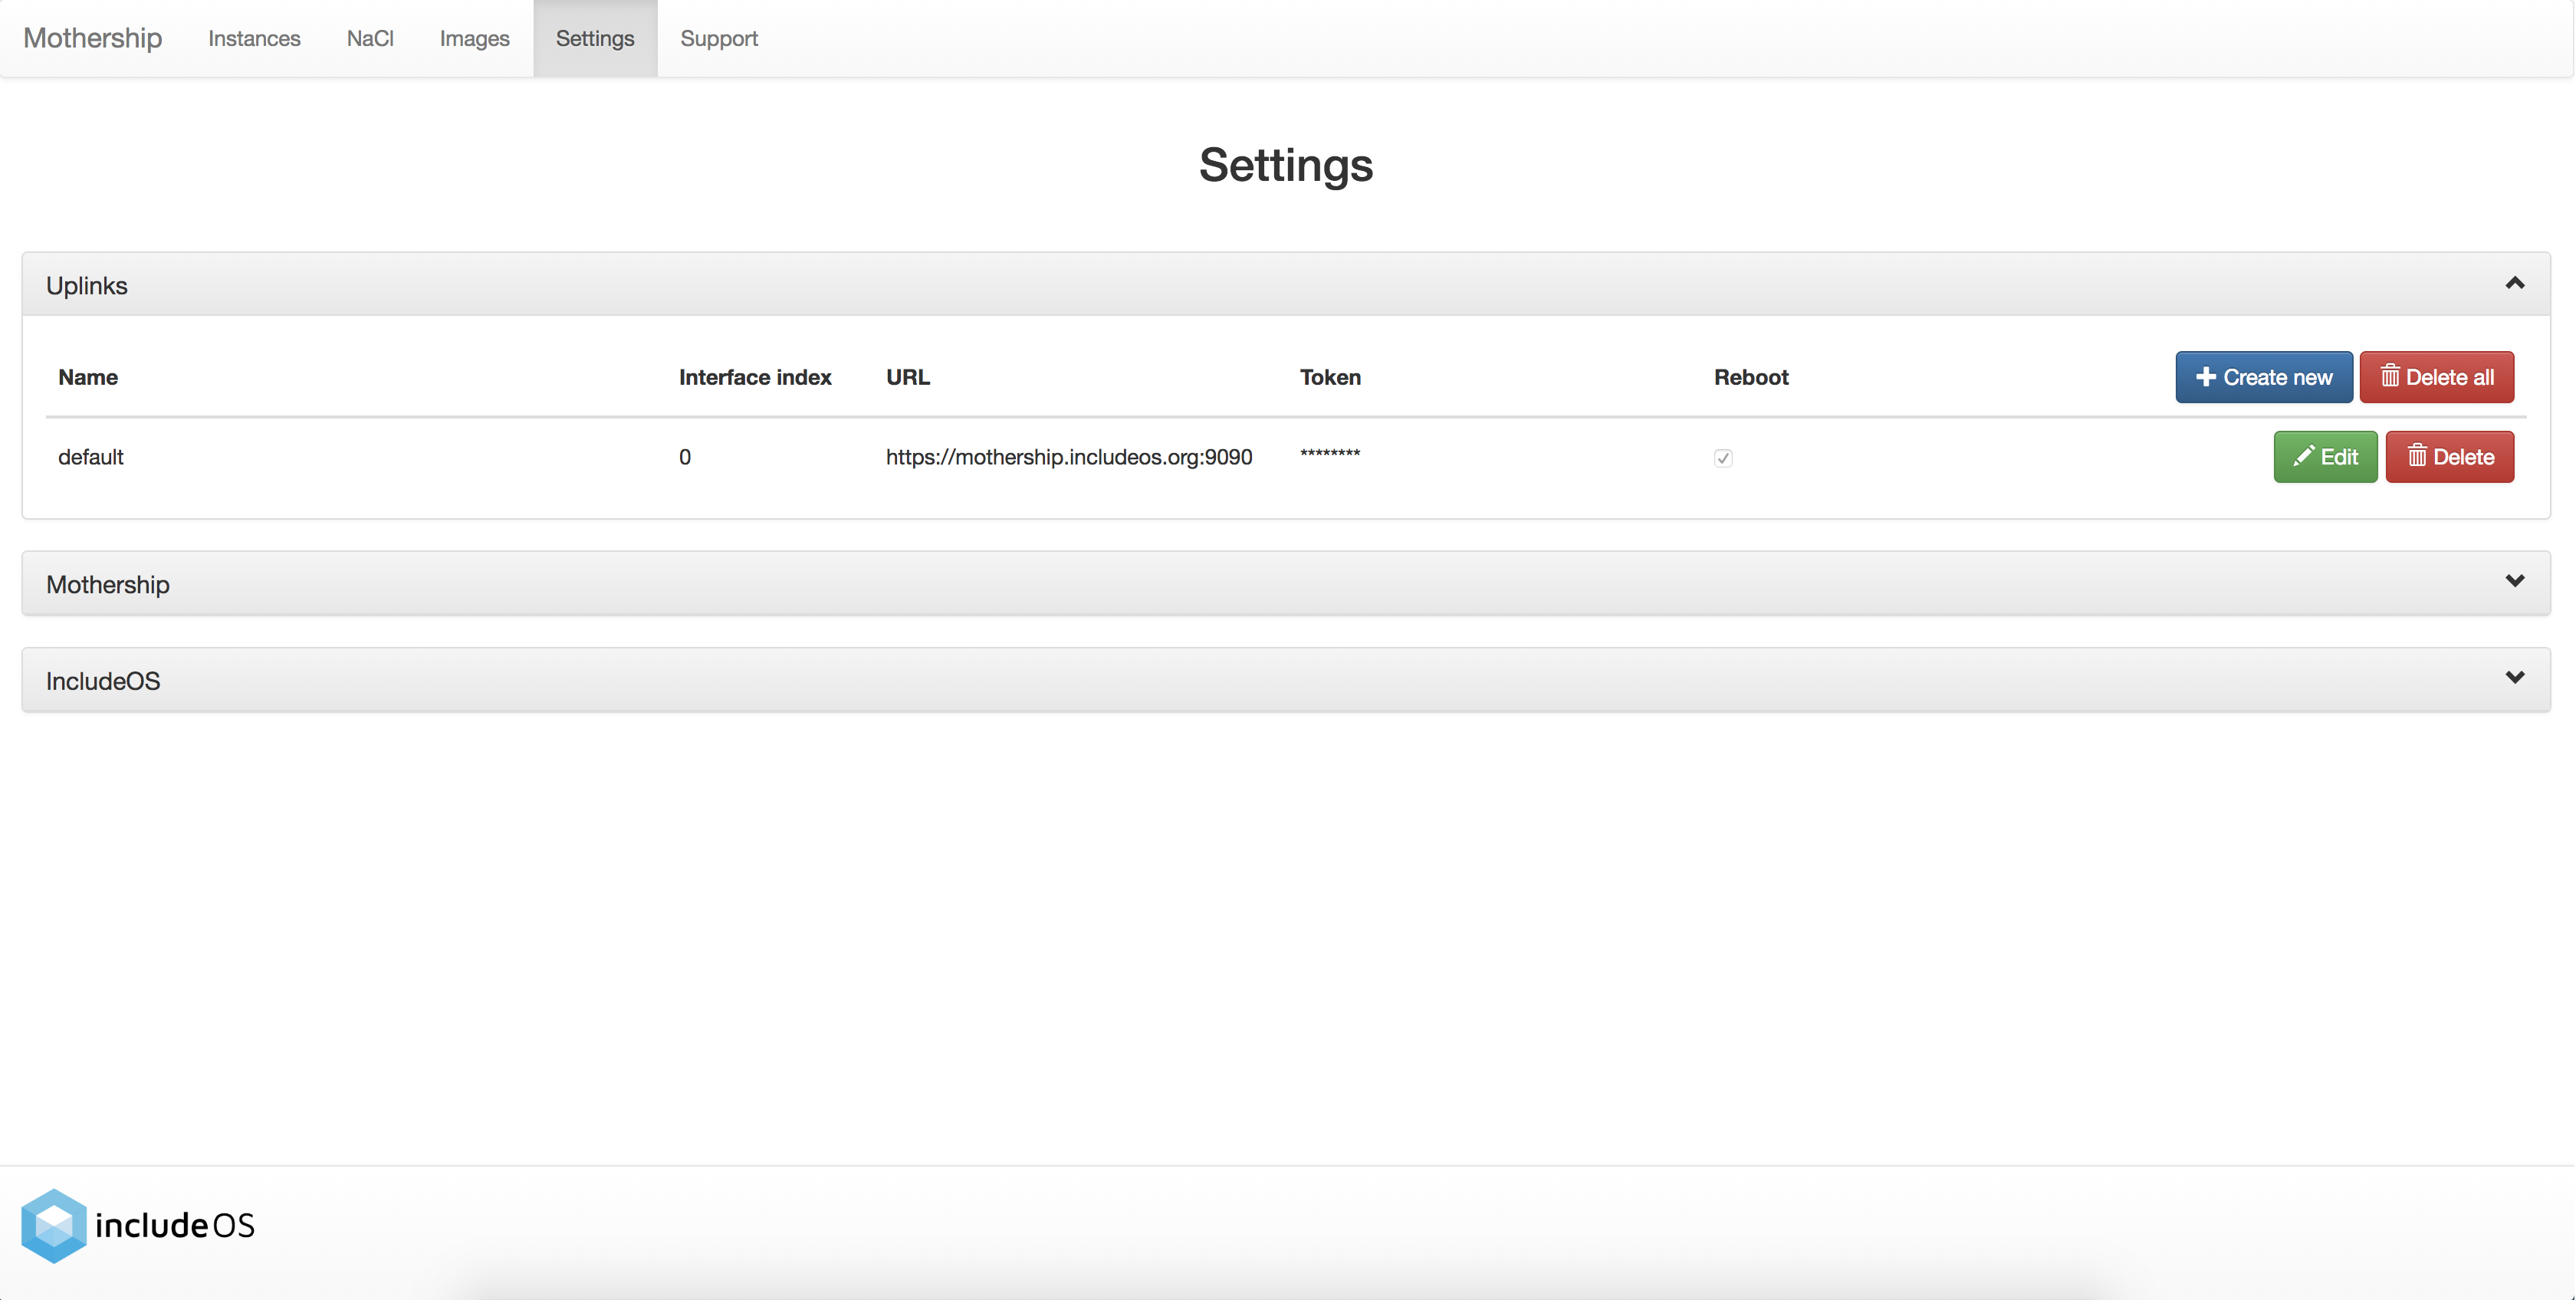
On the Create new image-page you are asked if you want to use a custom uplink for this build. If the default uplink on the Settings page is the uplink you want to use, you don’t need to check this. If you have another uplink you would like to use, however, check the box and a drop-down list containing the names of all your uplinks will be displayed. Choose one of these.
Click on the Build button
The status of the build is displayed on the right-hand side.
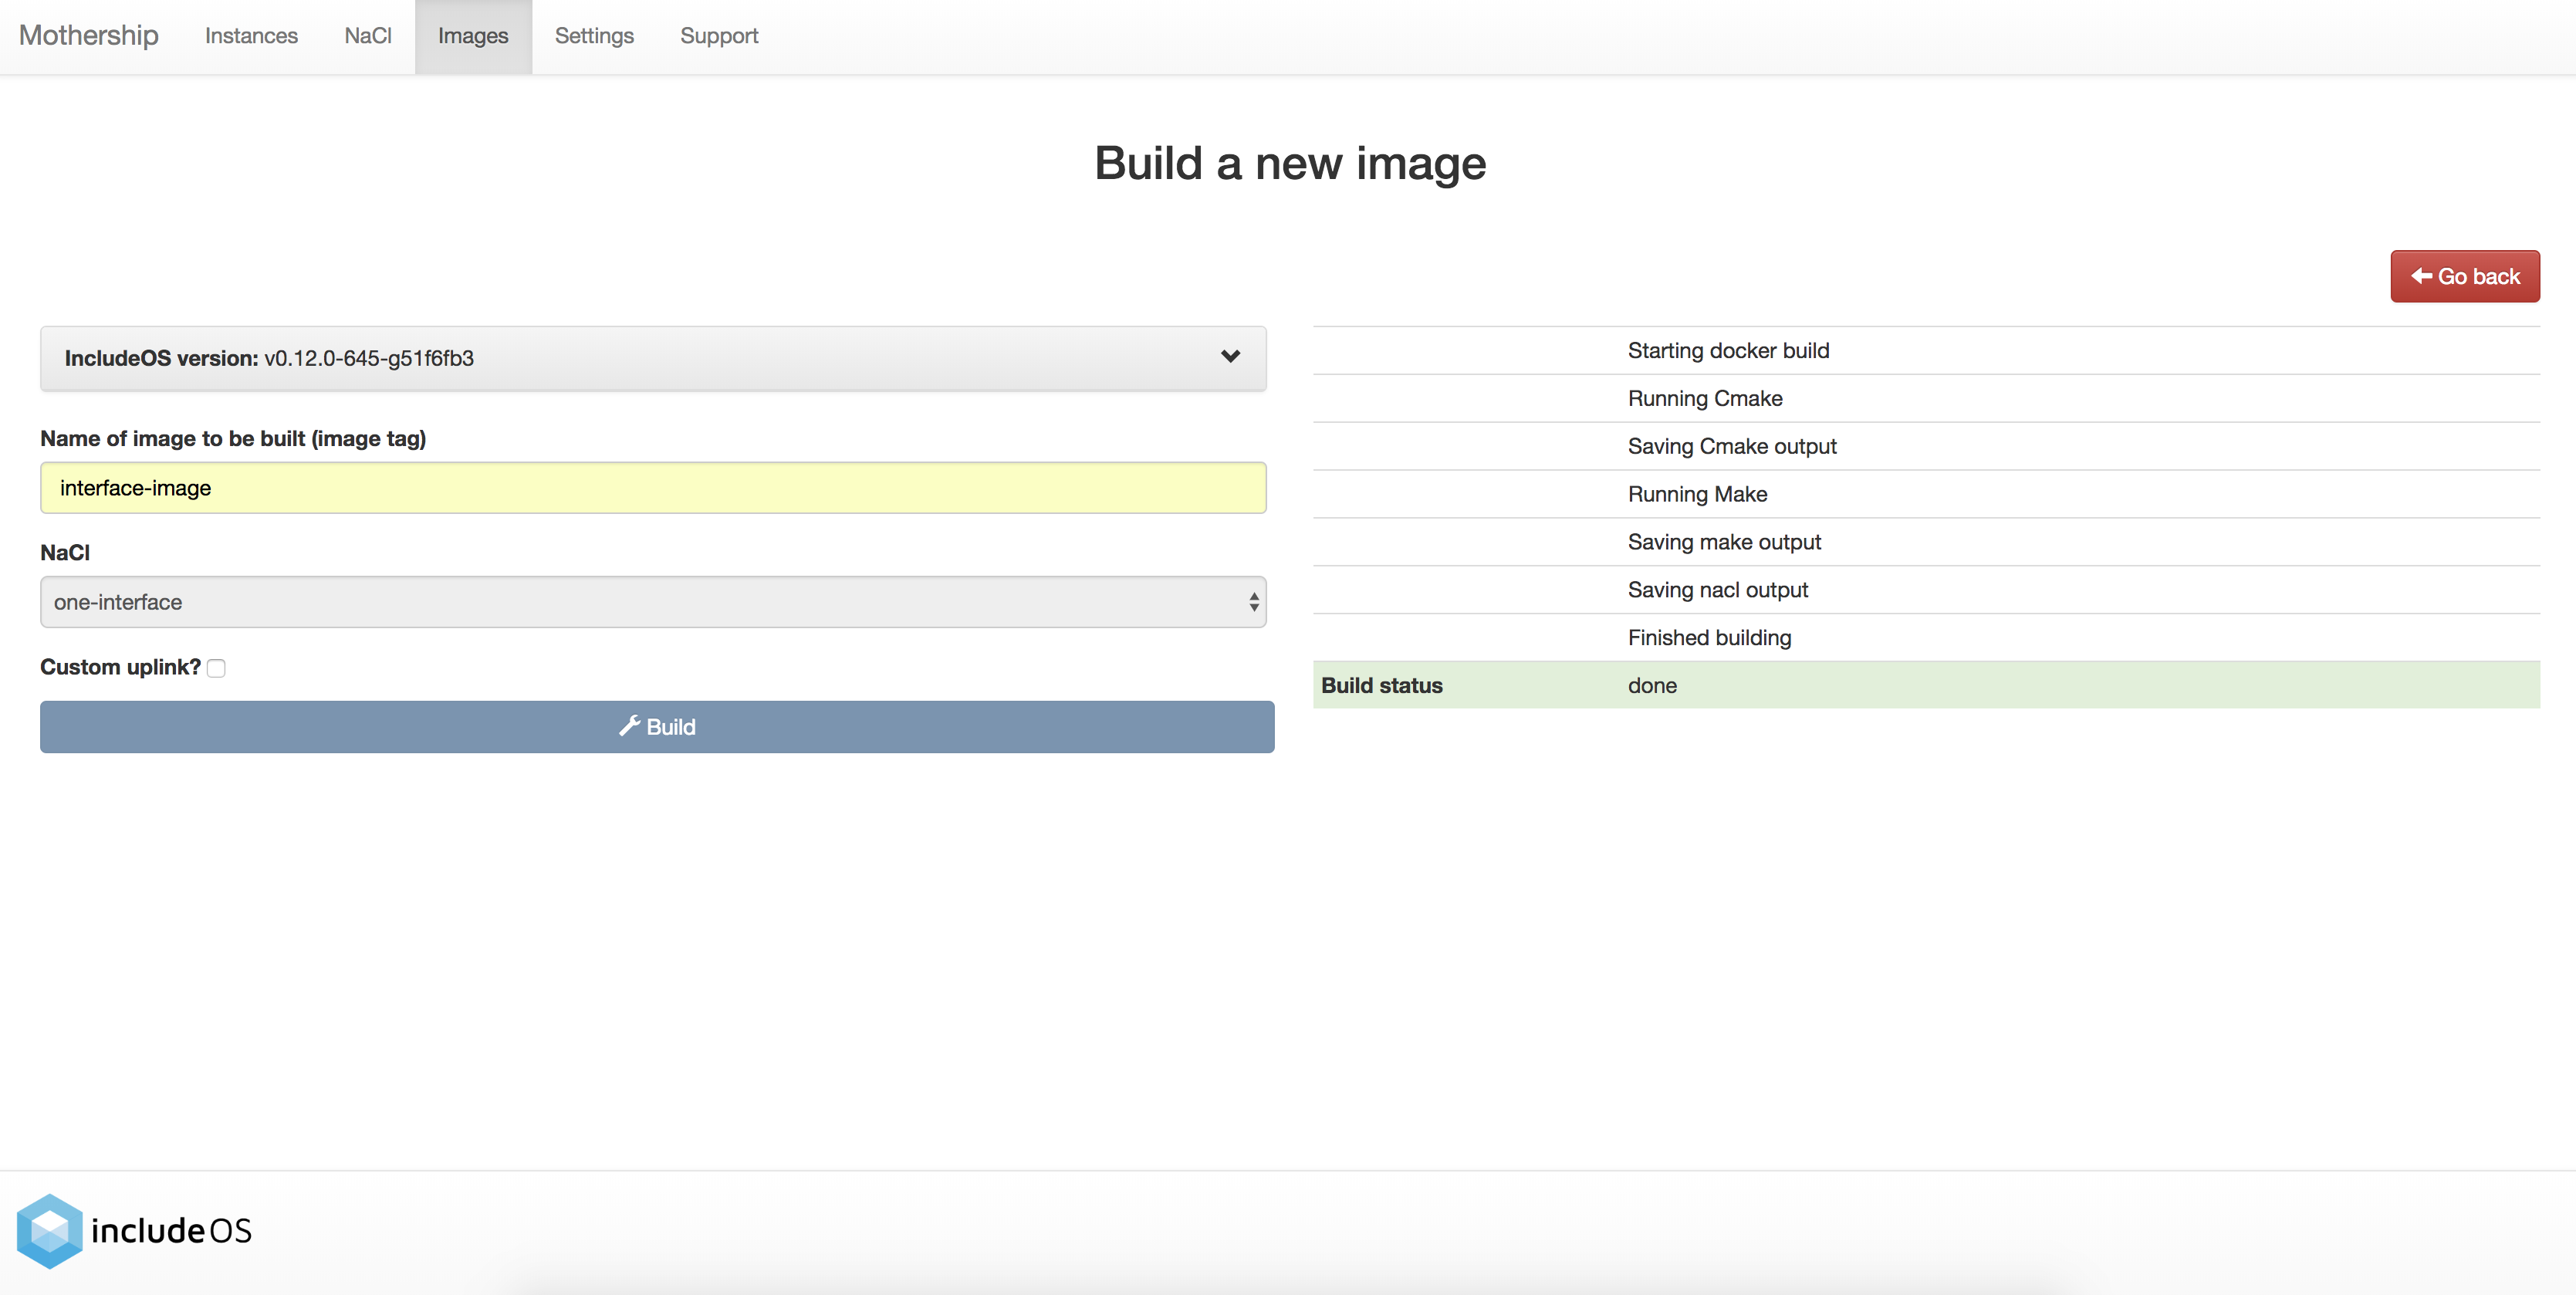
If everything went well you will be sent back to the Images page and a confirmation box will appear saying that the image was successfully created. You will see your newly created image on the page.
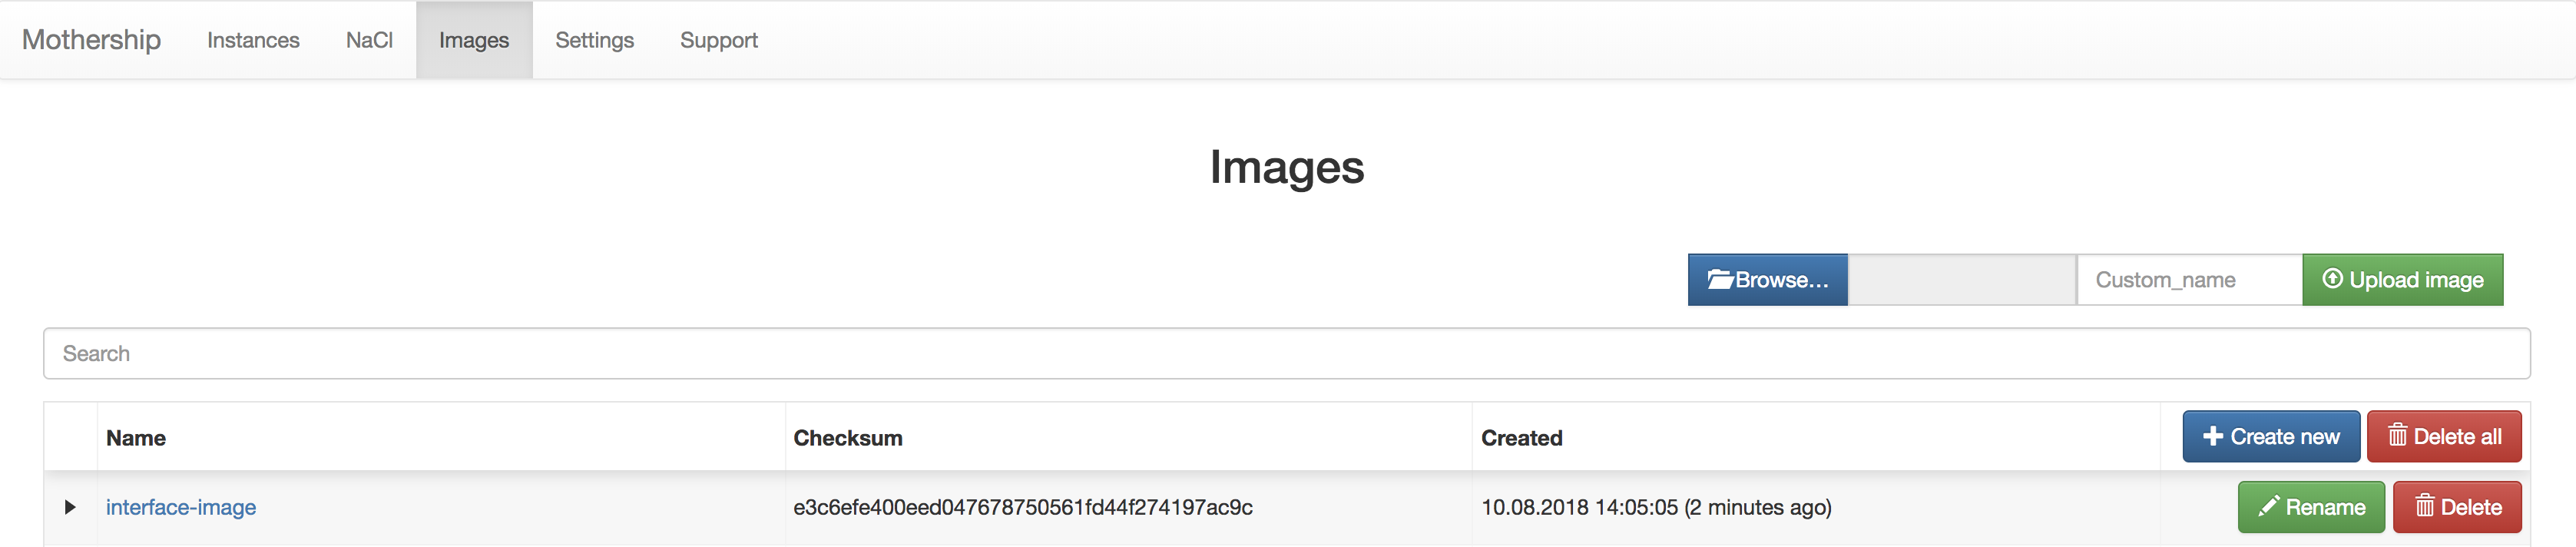
Download the image
Download the image by clicking on the image name.
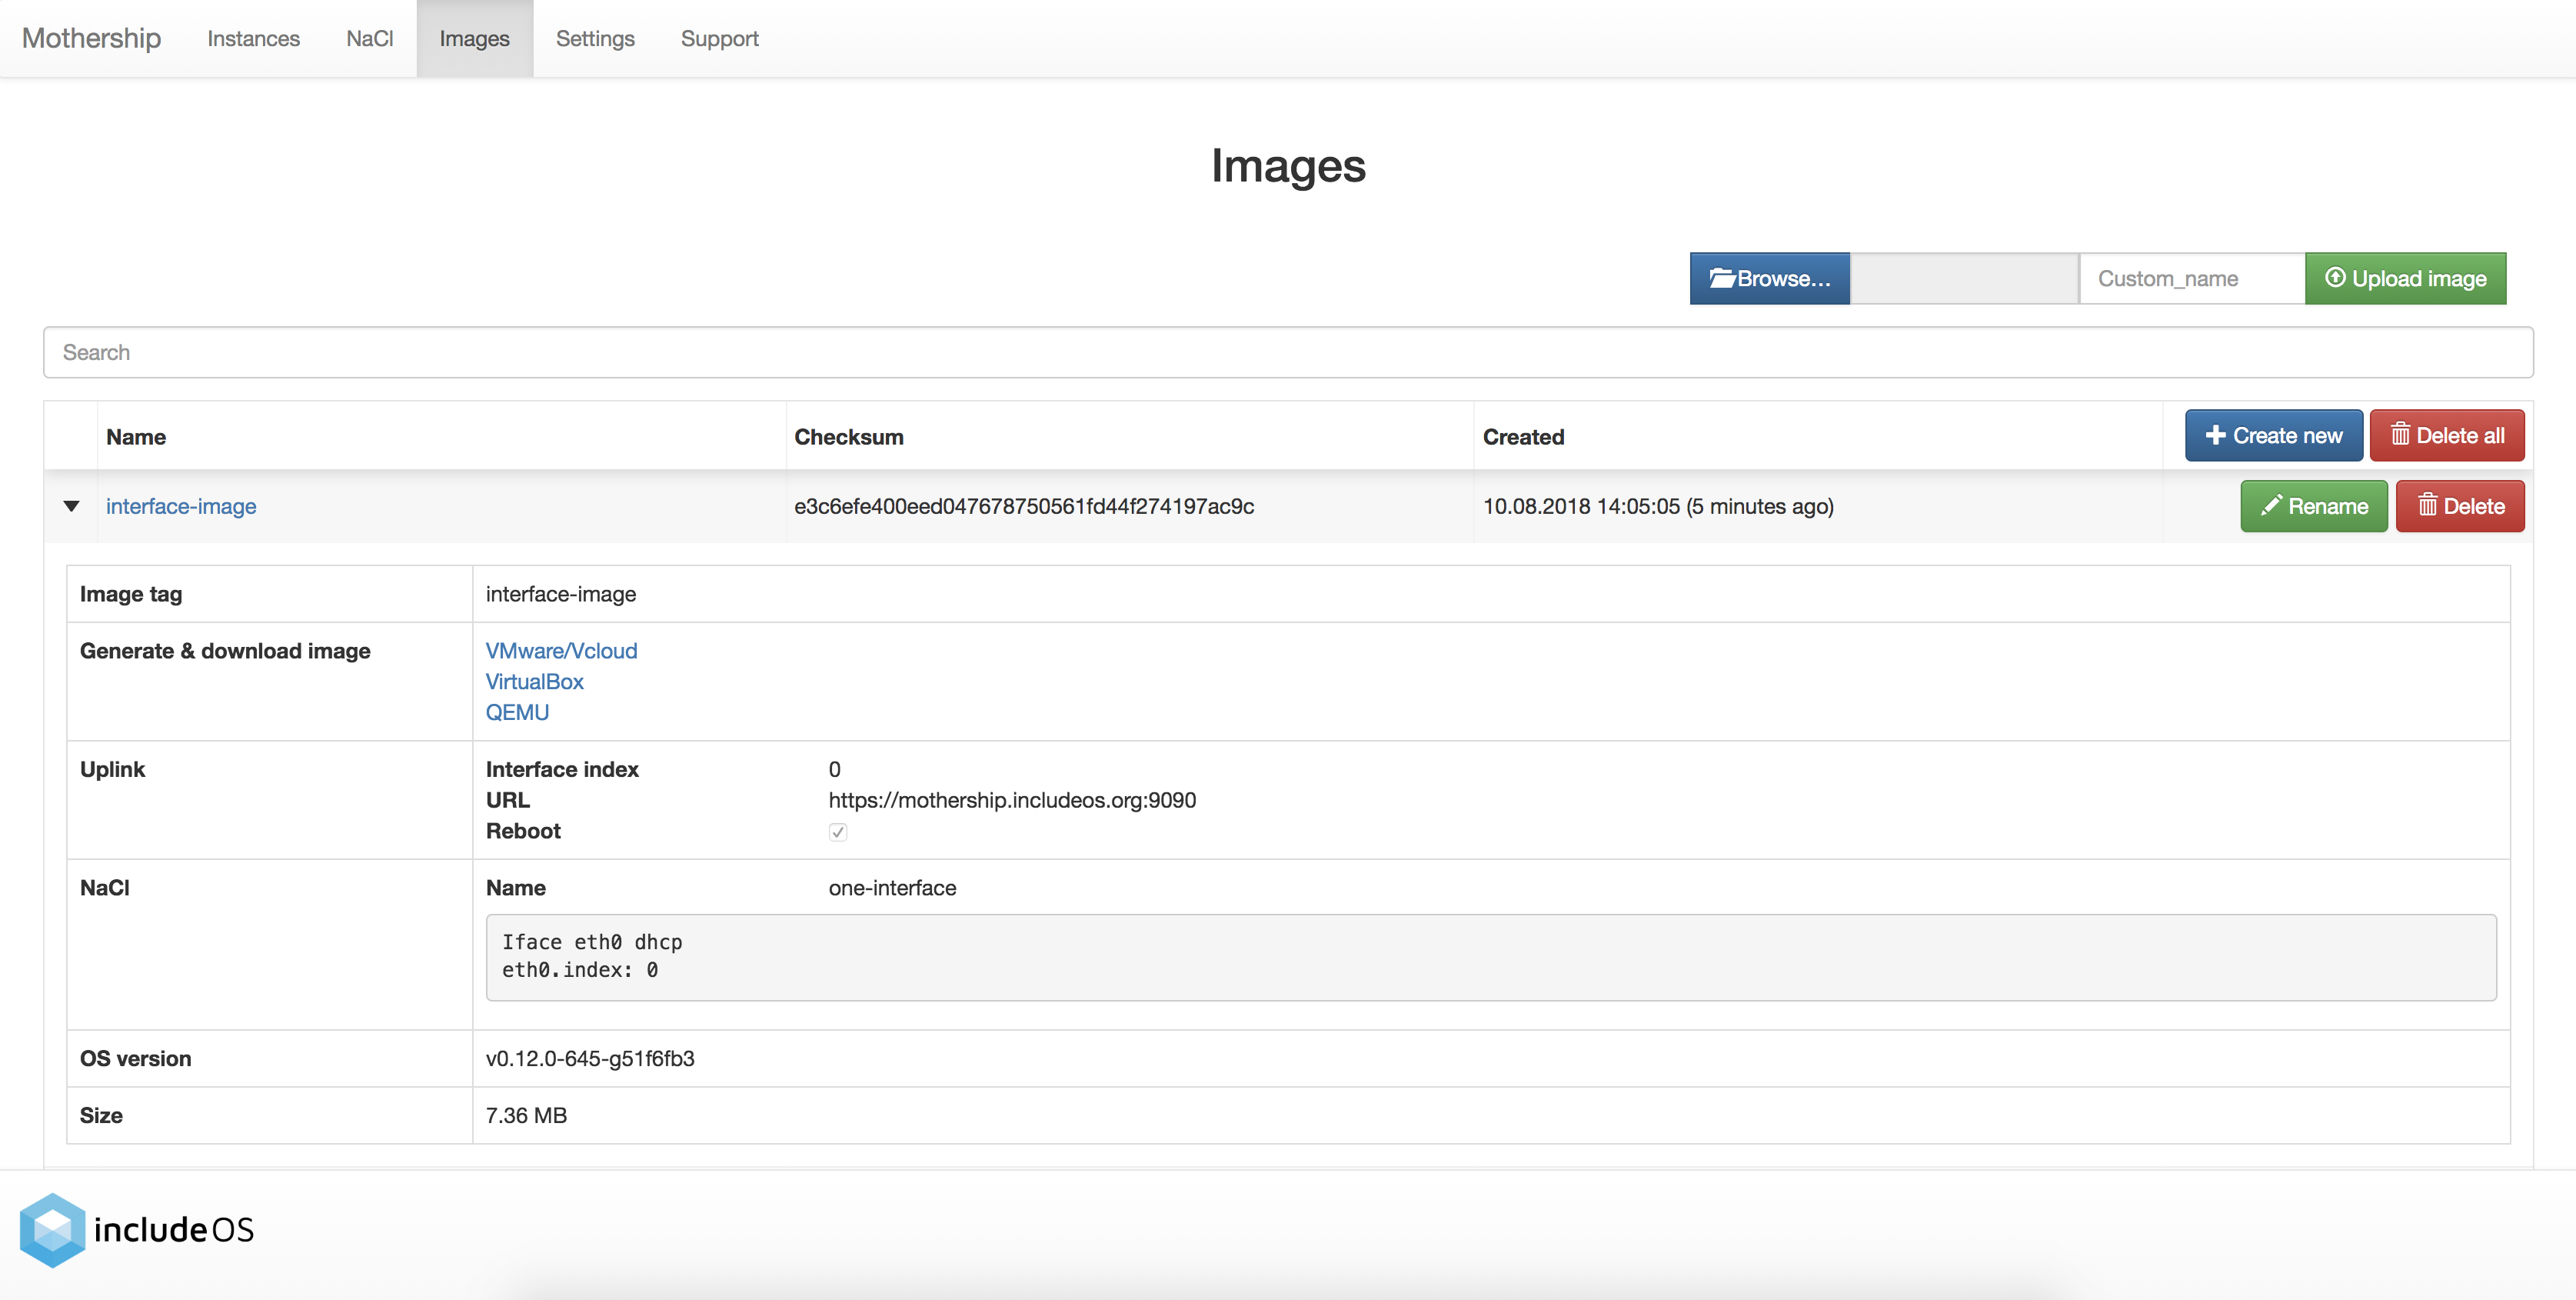
You can click on the arrow to the left of each image for more information about it:
3. Boot
After you have downloaded the image, you can launch it on your preferred hypervisor (the
./mothership launch --hypervisor <hypervisor> <ELF-binary> command is useful here - see our
Hypervisors documentation), or you can boot it up locally:
$ boot Starbase-nacl-0 --create-bridge
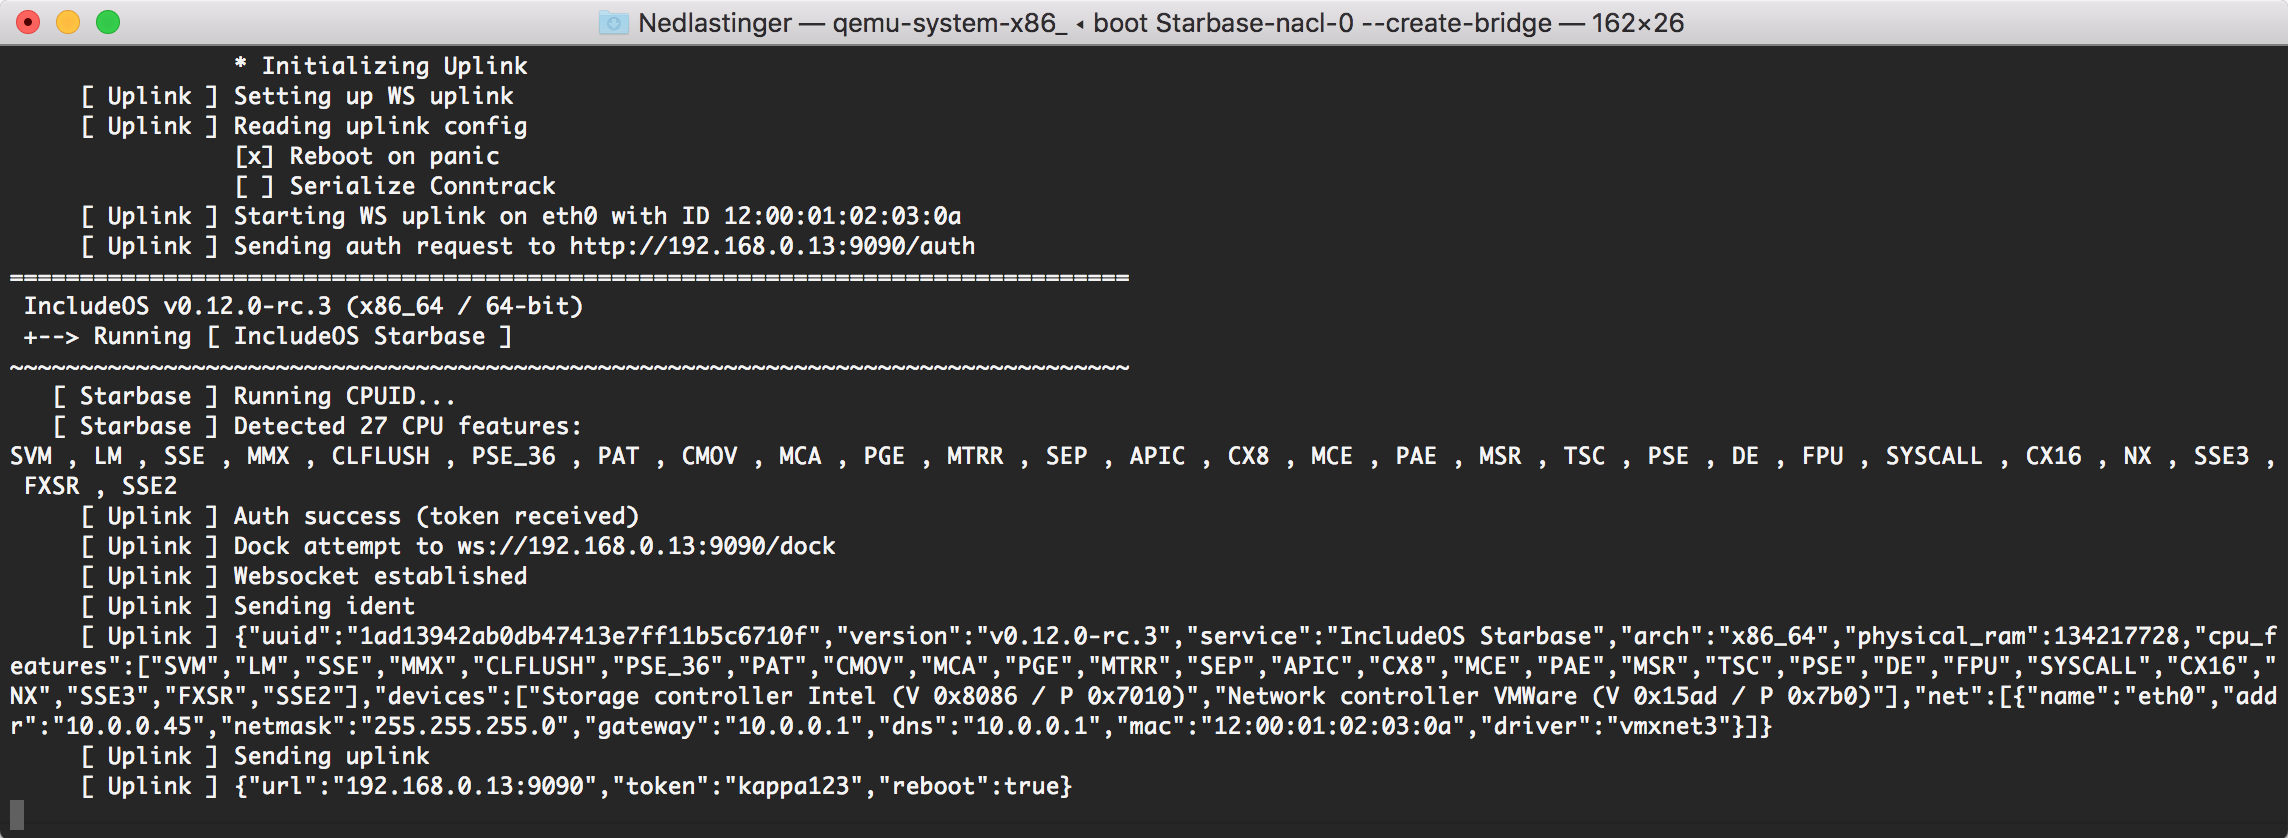
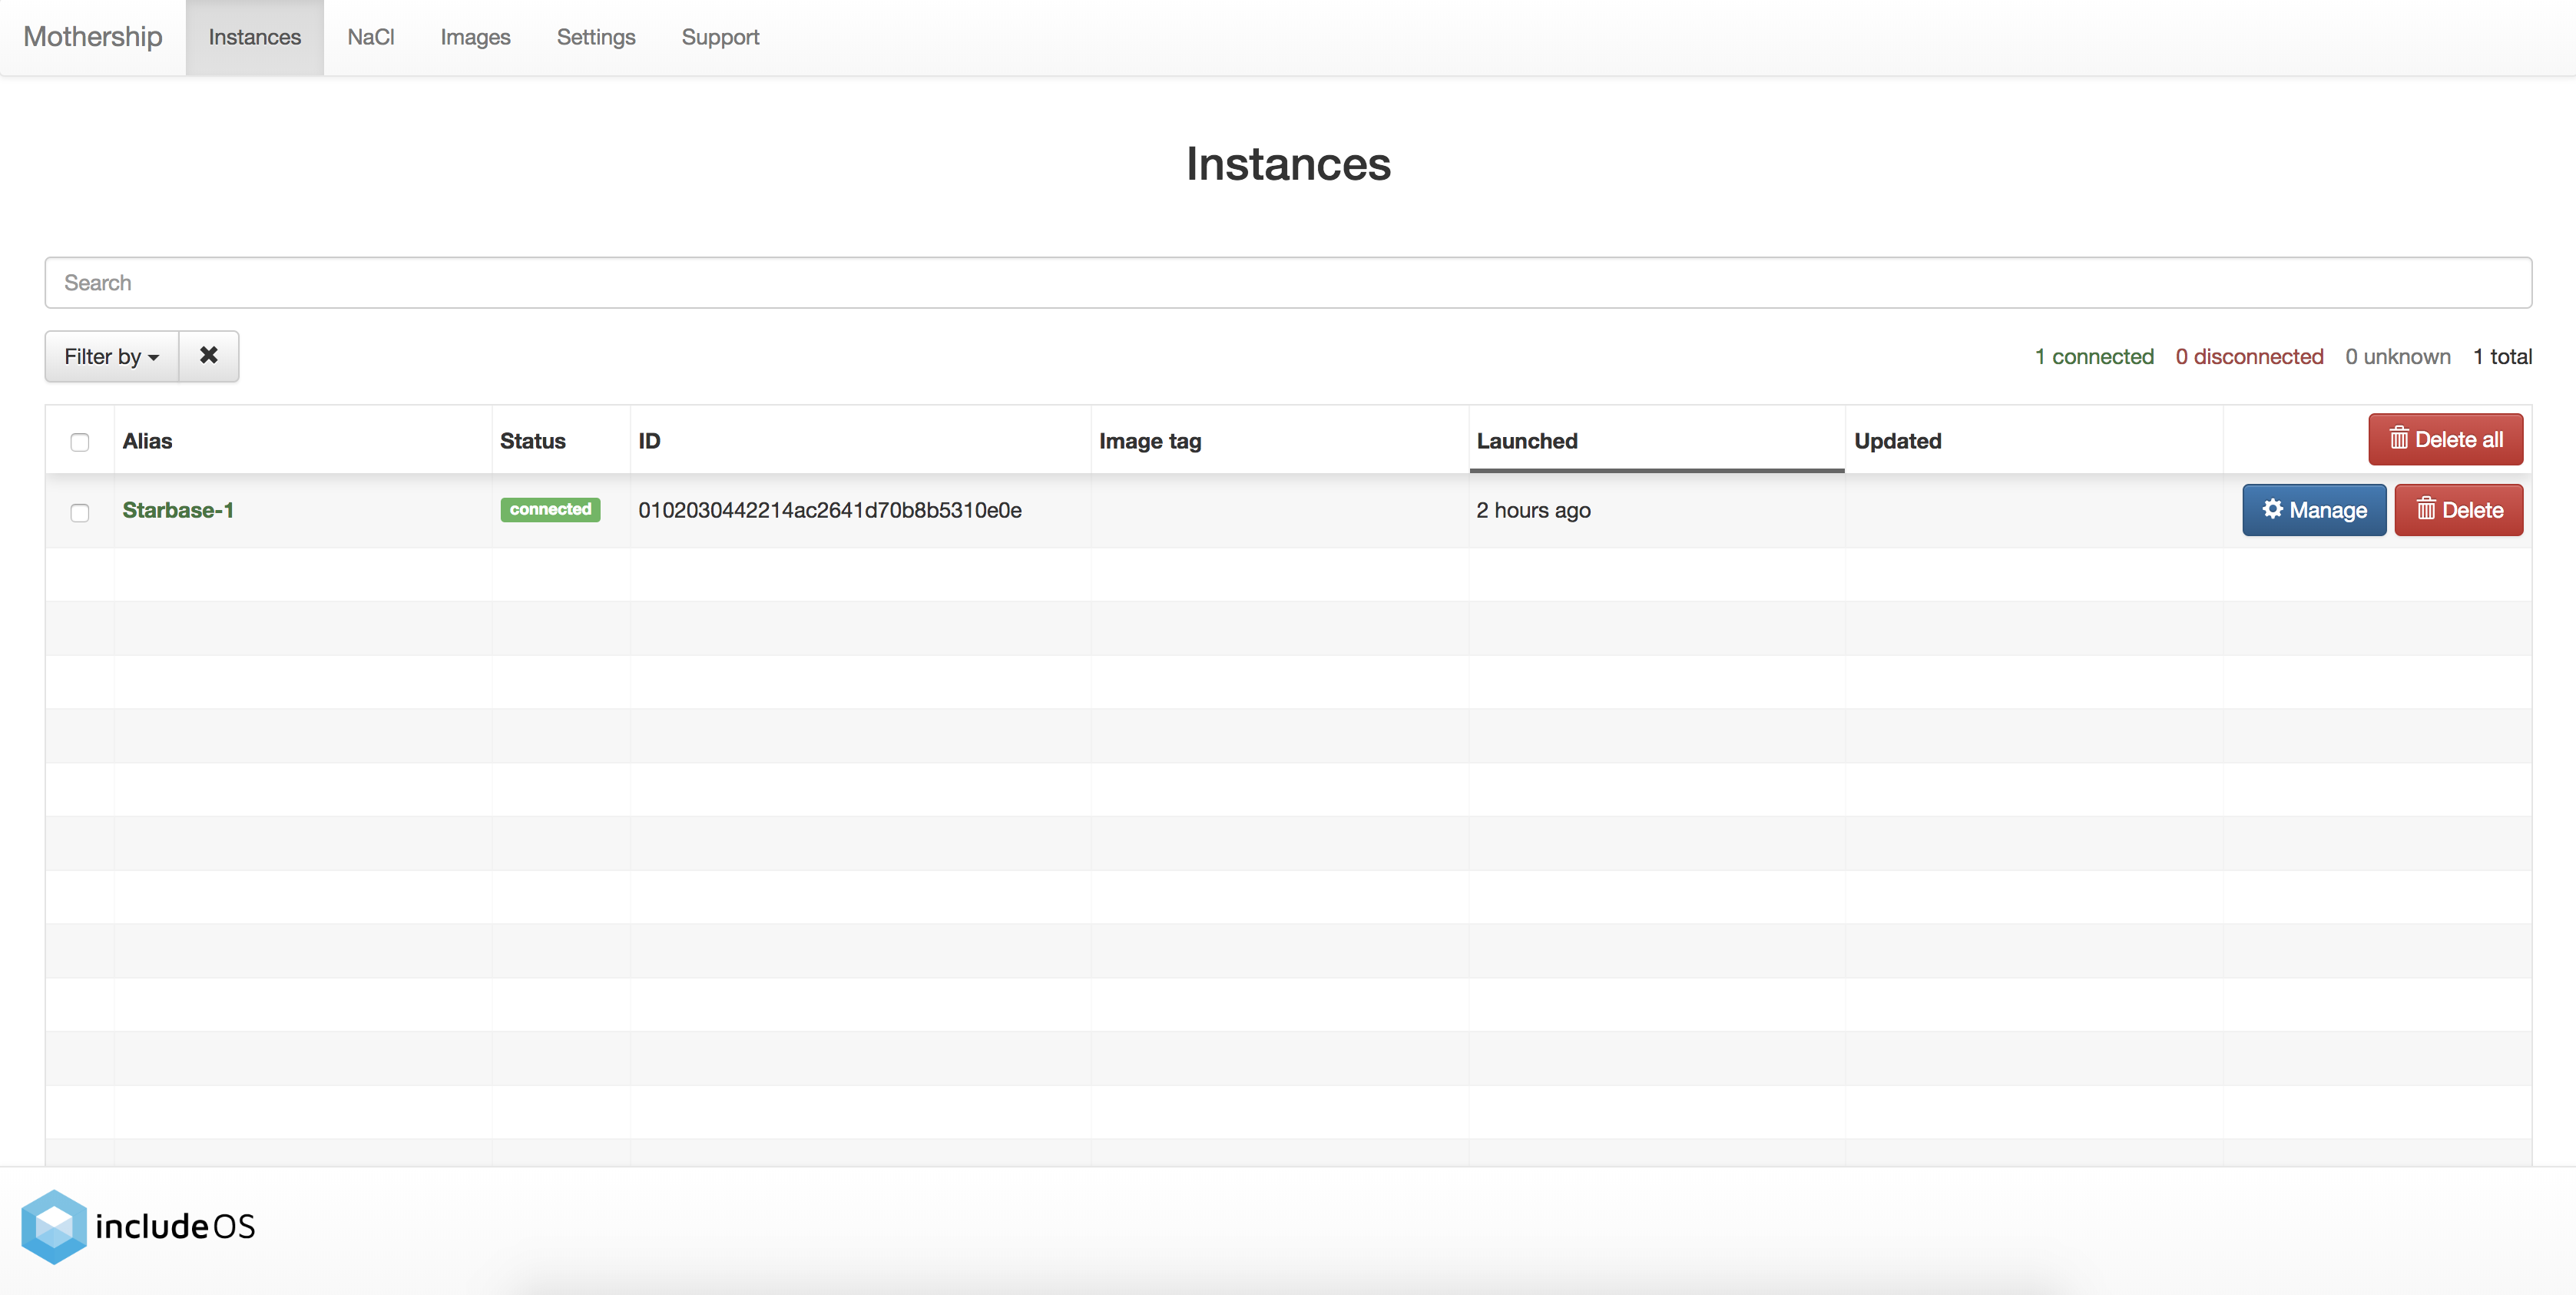
On the Instances page, you will see your instance when it has successfully connected to the Mothership:
Note:
IP forwarding must be turned on for your instances to connect to public IP addresses.
To make the instance above (with address 10.0.0.45) connect to the Mothership on 192.168.0.13 f.ex., IP forwarding
must be turned on.
In addition, a bridge must be set up so that the instance with IP 10.0.0.45 can reach other networks.
The --create-bridge option given to the boot command above sets up a bridge for you, but to enable IP
forwarding you have to run the following commands (on macOS):
$ echo "nat on en0 from bridge43:network to any -> (en0)" > includeos-nat.conf
$ sudo sysctl -w net.inet.ip.forwarding=1
$ sudo pfctl -F all # flush all active rules
$ sudo pfctl -f includeos-nat.conf -e # enable pf
An alternative to turning on IP forwarding in this case however (with a Mothership running on localhost), is to
create an uplink with URL 10.0.0.1:9090 and build an image with that. Then you only need to run
boot Starbase-nacl-0 --create-bridge, and the instance will connect to the Mothership.
You only need to add the --create-bridge option once.
Update your IncludeOS instance
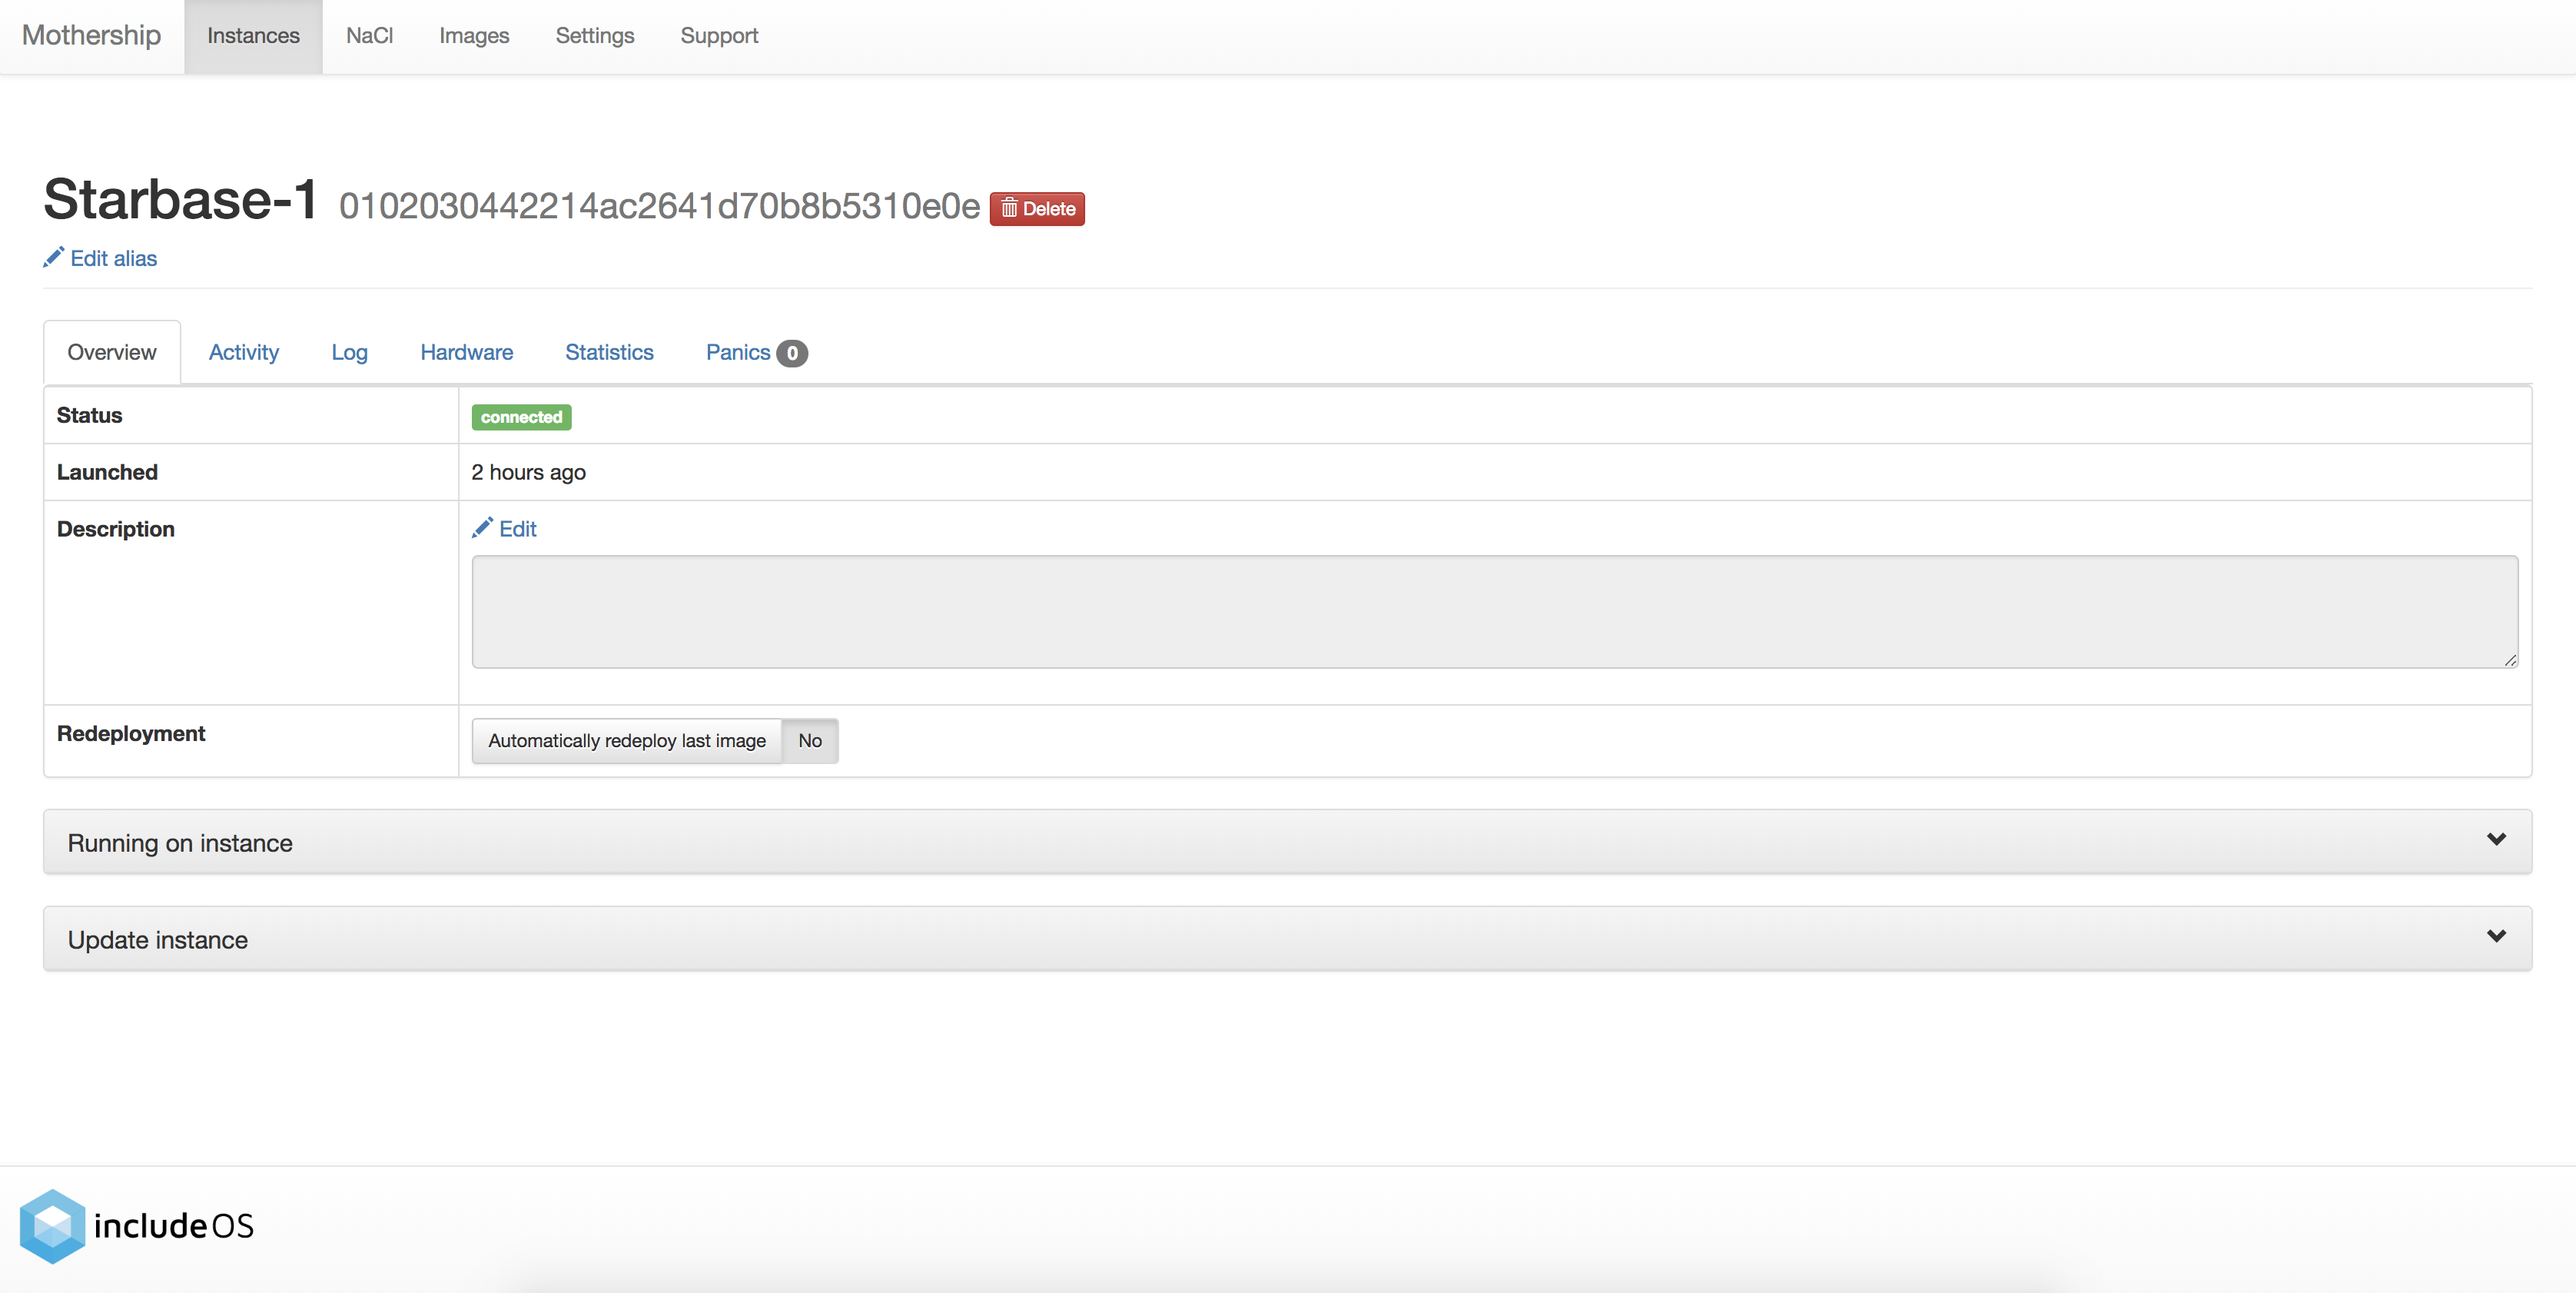
If you want to update your instance on Mothership, click on the Manage button. There you will see an overview of the instance with several tabs with more information. Below the overview section, you will see two more sections:
- Running on instance
- Update instance
The Running on instance-section will give you an overview of the image running on the instance, with information about uplink, IncludeOS version and NaCl information if this is known to the Mothership.
Click on Update instance
In the Update instance-panel, you will be able to choose how you want to update your instance.
- Build & deploy a new image
This section allows you to choose IncludeOS version, NaCl and add a name for your new image.
- The Deploy a previously built image-section allows you to select a previously built image. Choose an image from the drop-down list and click the Deploy-button.
